- ‘Active work time’ means time it takes me to do the active work e.g. cutting meat, mixing dough, etc.
- ‘Total preparation time’ means time between starting to do anything with ingredients to being able to consume the final product.
The Covid-19 Pandemic has given me plenty of incentive to improve my own cooking at home. Cooking is also a good skill to cultivate since it makes you more comfortable in the kitchen, enabling you to create food you like eating on your own and experiment with known recipes to suit your own or others’ tastes (literally!). I hope I’ve made these relatively easy to read and follow. These recipes do well when followed directly, but you should feel encouraged to put your own twists on them.
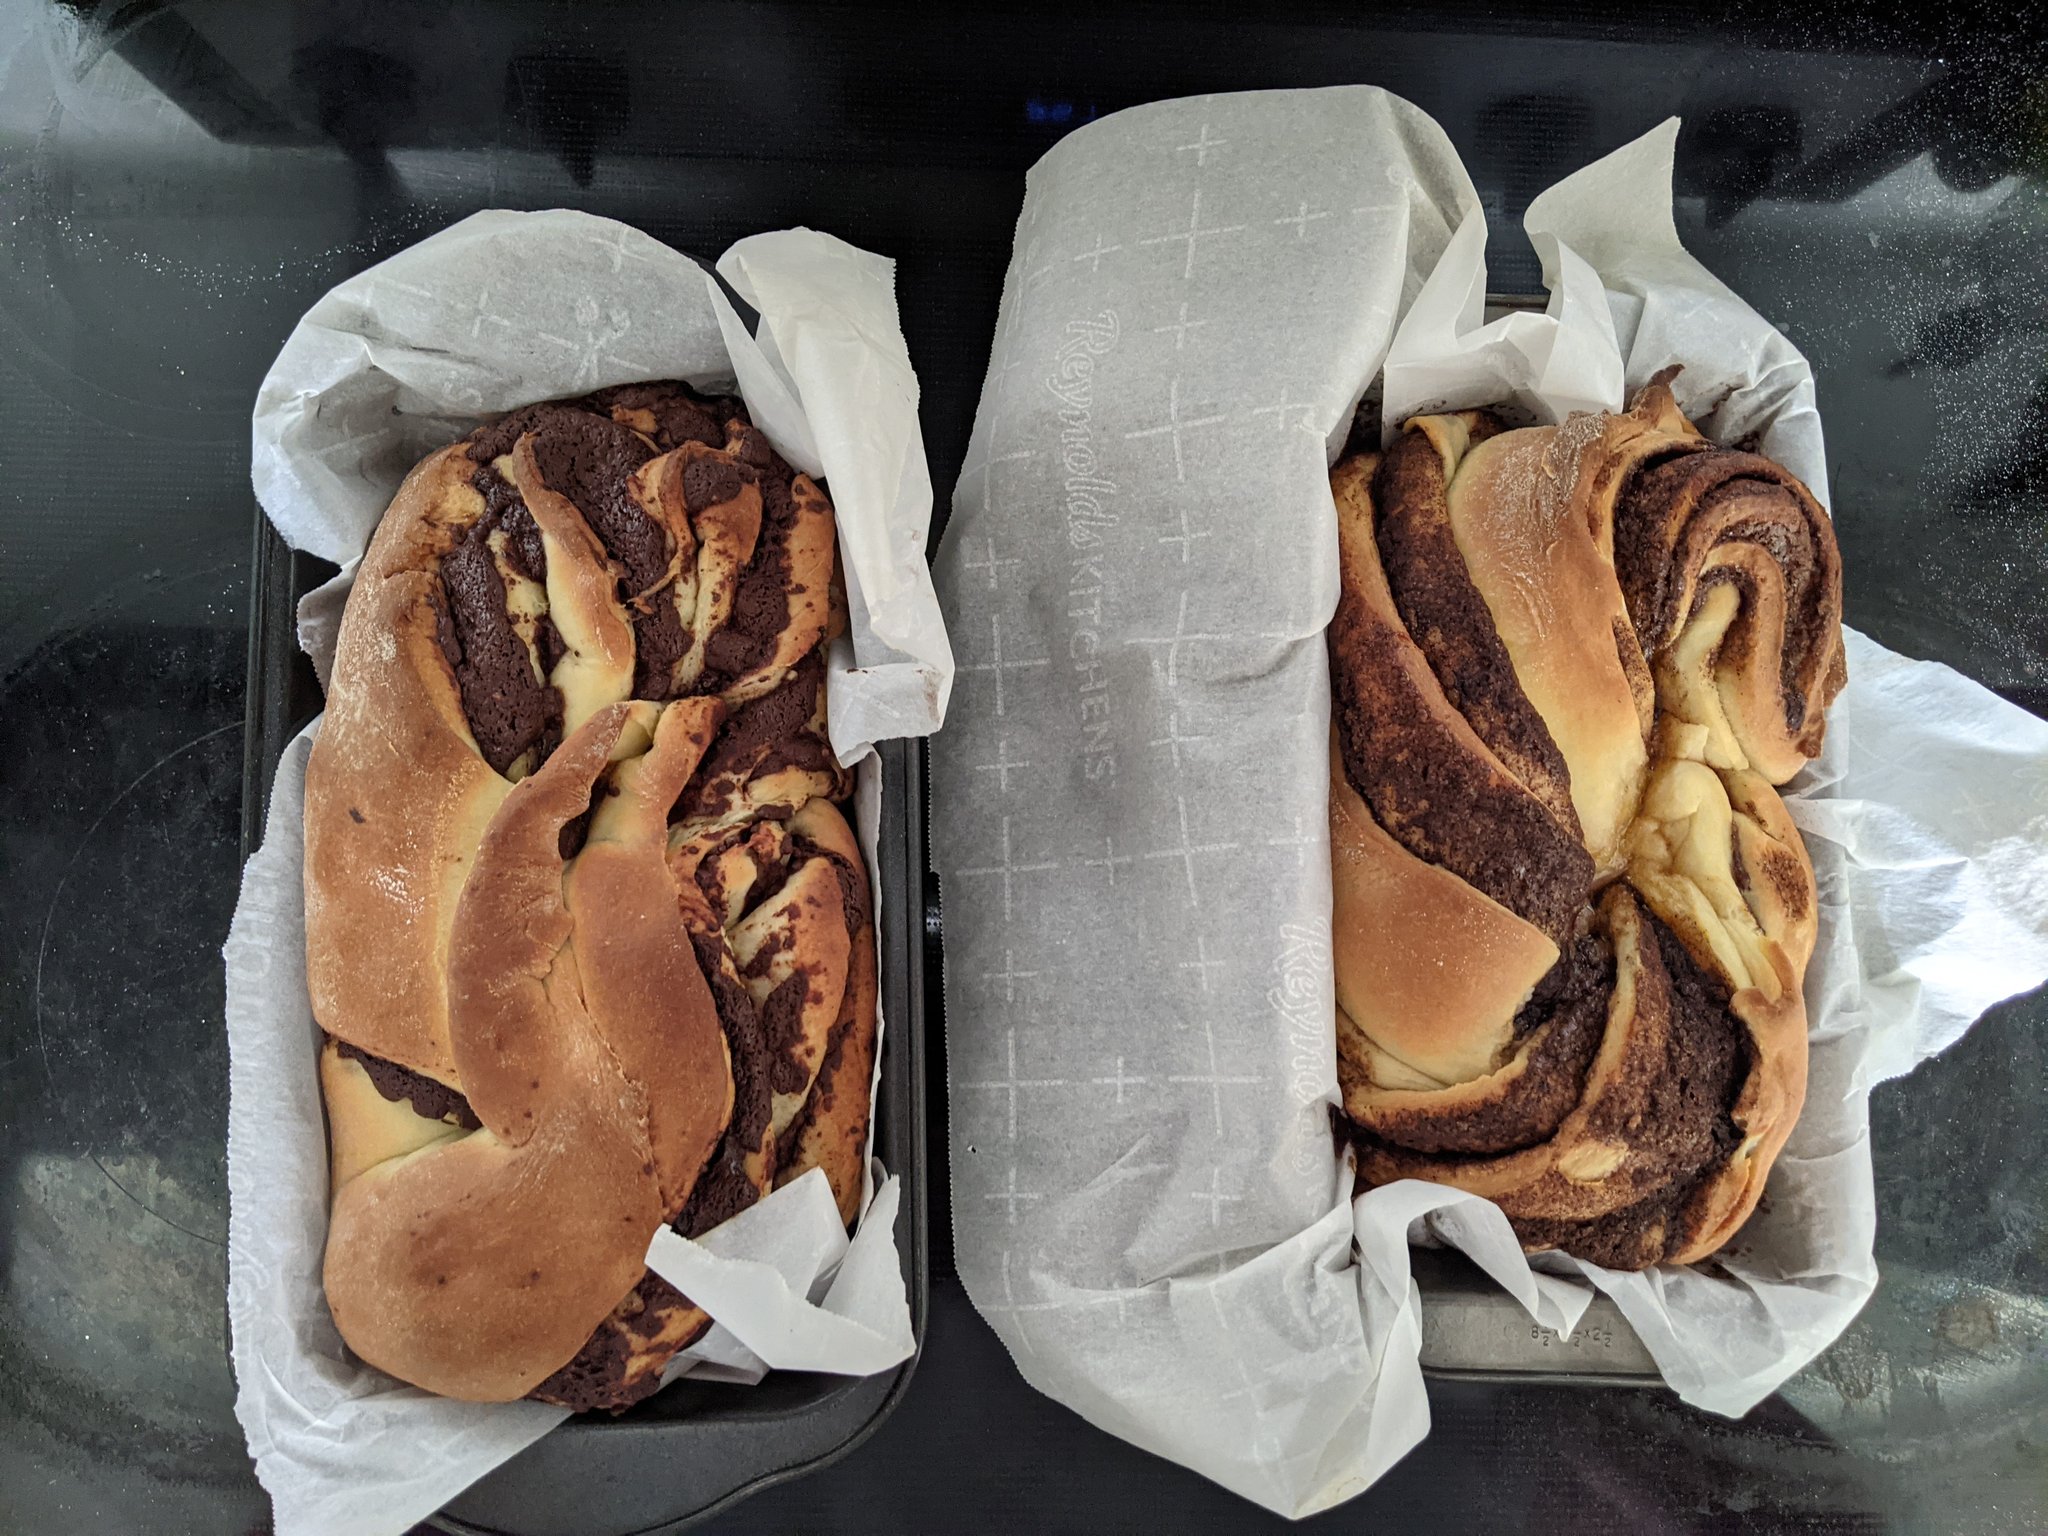
Babka
- Active work time: ~ 50 min
- Total preparation time: ~14 hours
Ingredients
Bread
- Whole milk – 0.25 cup
- Active dry yeast – .125 ounce
- White sugar – 1.35 ounces
- All-purpose flour – 9 ounces
- Kosher salt – 0.5 teaspoon
- Eggs – 2
- Unsalted butter – 6 tablespoons
Cinnamon Filling
- Ground cinnamon – 2 tablespoons
- Brown sugar – 0.5 cup
- Unsalted butter – 0.5 cup
Chocolate Filling
- Unsalted butter – 0.25 cup
- Chocolate – 4.5 ounces
- Cocoa powder – 0.3 cup
- Powdered sugar – .3 cup
Instructions
Bread
- Heat milk to 110 degrees Fahrenheit
- Add yeast and .1 ounce of sugar to milk and leave off heat for about 12 minutes or until foaming
- In a stand mixer bowl, combine the flour, white sugar, and salt. Once combined add milk, yeast, and sugar mixture to bowl
- Mix until barely combined
- Add eggs to mixture and mix on medium speed for about 5 minutes or until the dough forms a cohesive ball.
- Add 3 tablespoons of butter and mix until incorporated (this should take about 6 minutes). If the dough sticks to the sides of the bowl, add flour one tablespoon at a time until it no longer sticks as much
- Repeat step 6 for the remaining 3 tablespoons of butter
- Butter the inside of another large bowl, and form the dough into a smooth, taught ball and place in the buttered bowl. Cover the bowl with a towel and let the dough rest for 1.5 hours
- Punch the dough down, cover the bowl with plastic and place in firdge for 4 hours minimum or overnight
- Make a filling of choice
- After refrigerating the dough, lightly flour a large work surface and a rolling pin and roll out into a large (about 24 x 18 inches) rectangle (or an elongated ellipse)
- Spread filling across dough, stopping about 1 inch before the edge
- Roll dough width-wise so you have a long spiral log of dough
- Place log in freezer for about 15 minutes or until firm
- Cut dough lengthwise so you have two long logs.
- With one log face down and the other face up, twist the dough pieces together into a spiral.
- Butter the the inside faces of a loaf pan and line with parchment paper. Drop the dough spiral into the pan, folding as necessary to make it fit.
- Cover the loaf pan and dough with a moist towel for about 1.5 hours
- Preheat an oven to 375 degrees Fahrenheit. Once the oven is at temperature, bake the loaf for 30 minutes.
- Allow the bread to cool for about an hour before serving or eating.
Cinnamon Filling
- Melt butter
- In a bowl, mix butter, cinnamon, and brown sugar until thick and viscous
Chocolate Filling
- Melt butter and chocolate
- In a bowl, mix butter, chocolate, cocoa powder, and sugar until thick and viscous
Notes
- This is very labor and tool intensive but worth it.
Filé à Osvaldo Aranha (Brazilian garlic-based steak)
- Active work time: ~15 minutes
- Total preparation time: ~15 minutes
Ingredients
- Steak, about 1 inch or greater in thickness – 1
- Garlic – 5 cloves
- Butter – 2 tablespoons
- Olive oil (extra virgin) – ~2 tablespoons
- Kosher salt – a few pinches or to taste
- Pepper – a few pinches or to taste
Instructions
- Chop garlic cloves into very small pieces
- Rub salt and pepper into the raw steak
- In a pan on medium heat, melt 1 tablespoon of butter, the olive oil, and fry the garlic until they are golden and crispy
- In a separate pan on high heat, melt 1 tablespoon of butter and place the steak, cooking for about 3 minutes per side
- Once the steak is cooked, move to a plate and cover the steak with the garlic, butter, and olive oil mixture.
- Serve and eat when cooled to preference
Notes
- For the authentic Brazilian experience, serve with white rice, farofa, and short, crunchy fried potato sticks
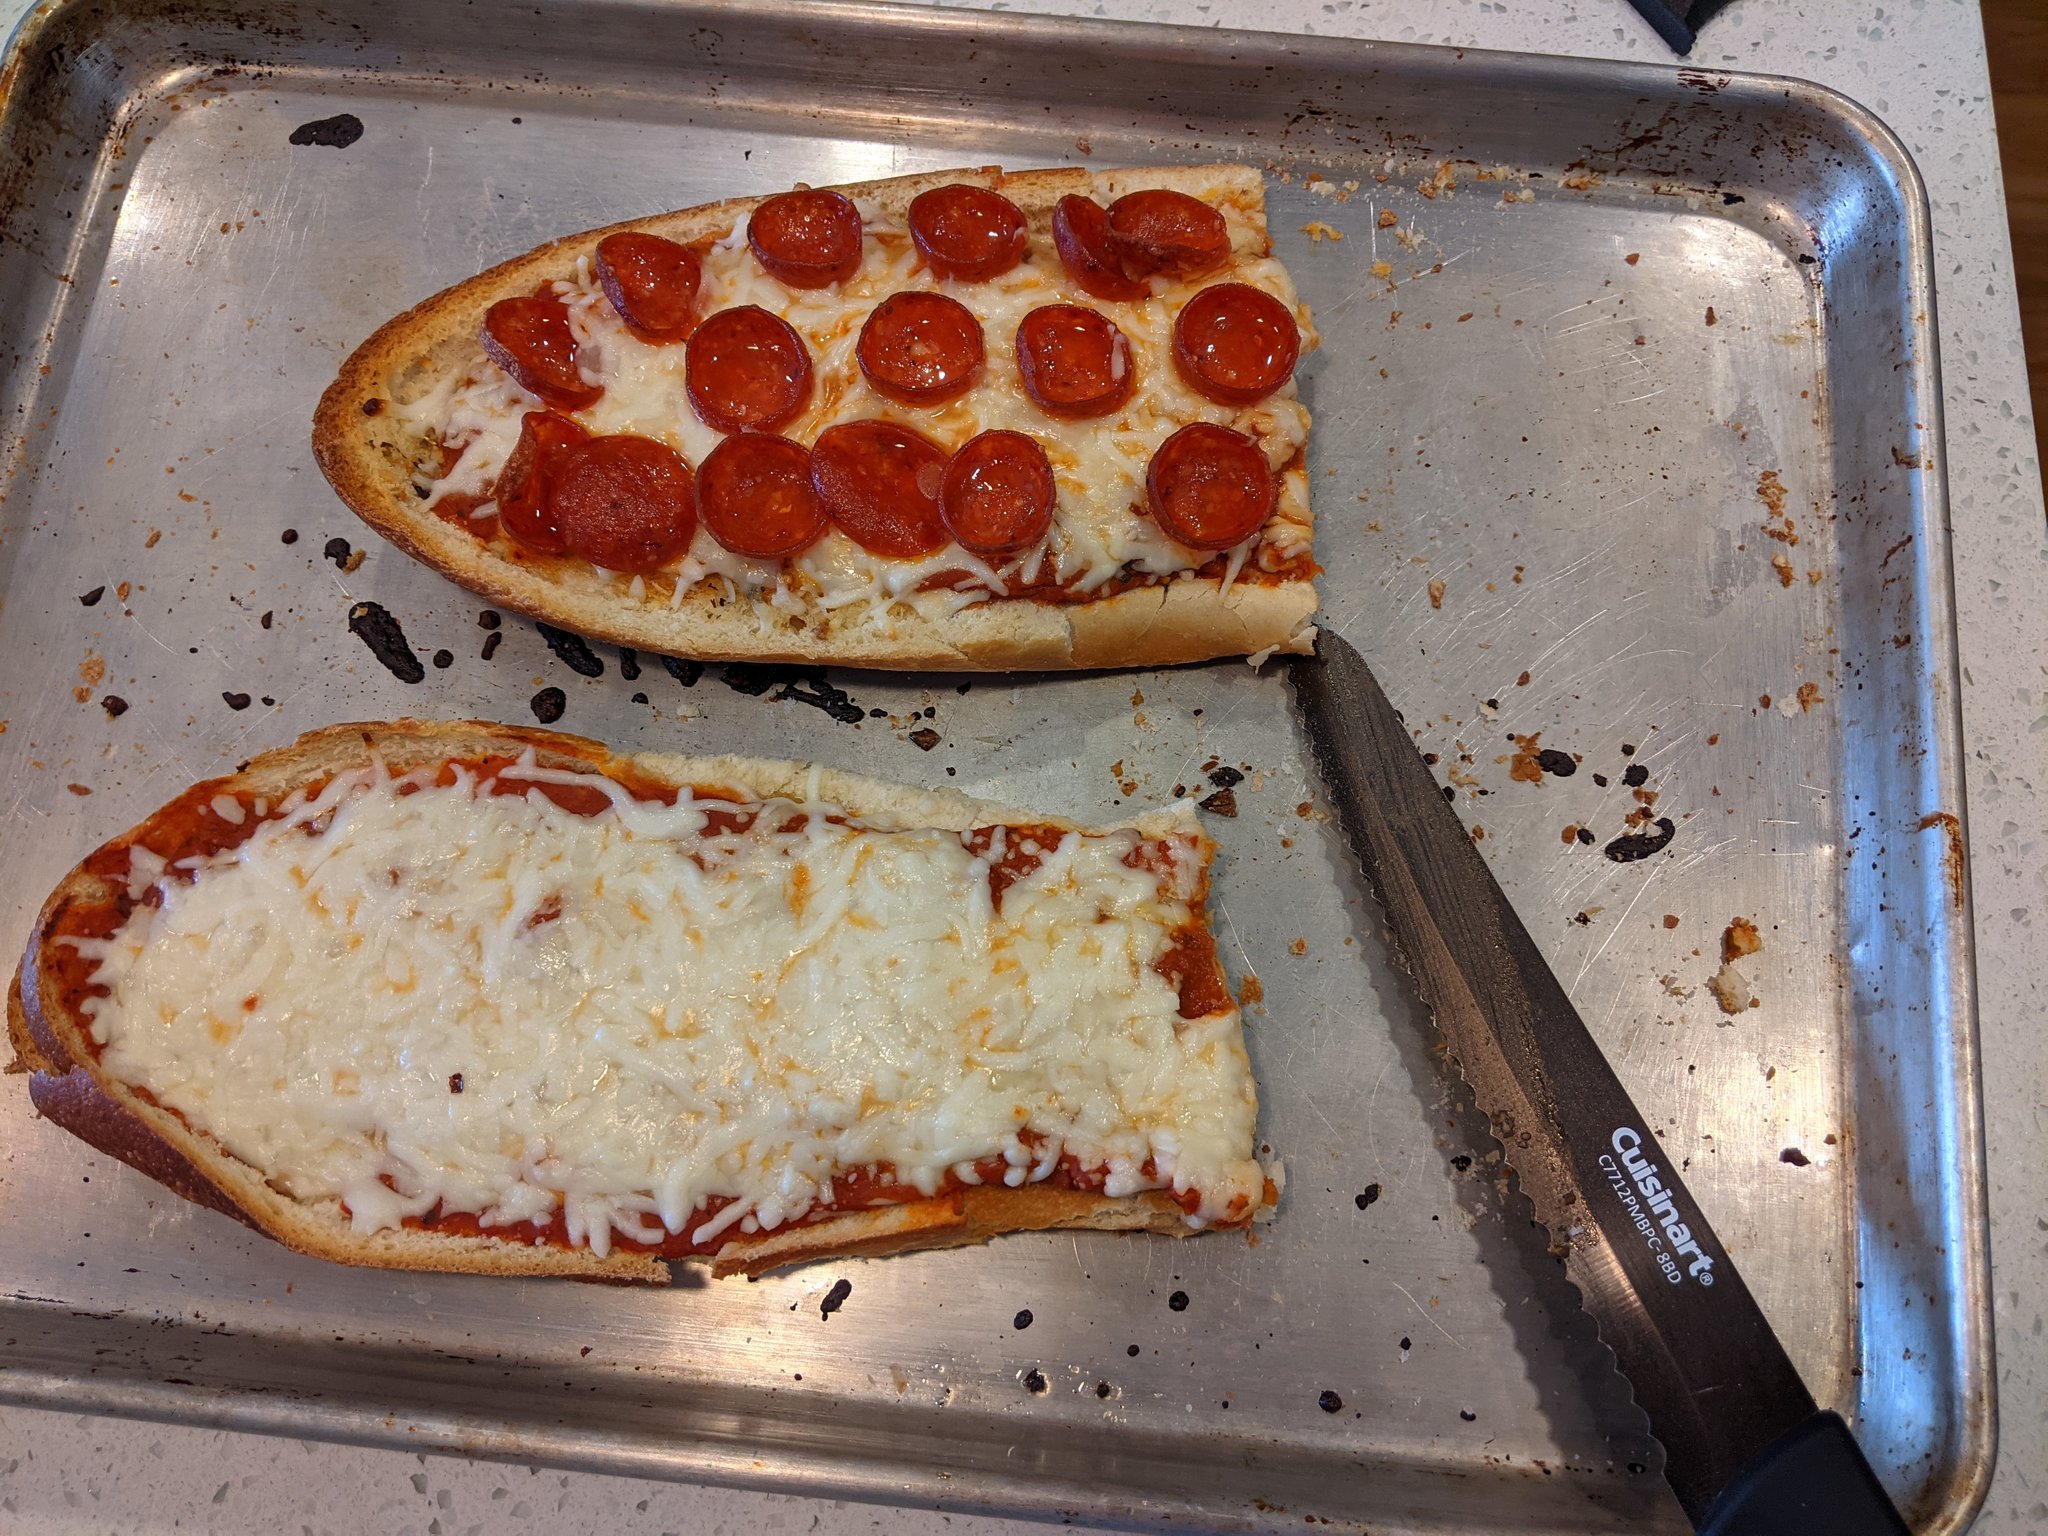
French Bread Pizza
- Active work time: ~15 minutes
- Total preparation time: ~25 minutes
Ingredients
- French Bread – 1 whole loaf
- Garlic – 5 cloves
- Butter – 2 tablespoons
- Olive oil (extra virgin) – ~2 tablespoons
- Oregano – a large pinch
- Red pepper flakes – a pinch
- Salt – 2 pinches
- Tomatoes (crushed, sauce, anything really) – 14 ounces or enough to coat the surface of the bread
- One of the following cheeses (pre-shredded is fine):
- Mozzarella (full fat) – enough to coat the surface of the bread thrice
- Mozzarella and Monterey Jack – enough to coat the surface of the bread thrice
Optional
- Pepperoni – to preference
- Other toppings
Instructions
- Preheat oven to 425 degrees F
- Cut loaf of bread in half length-wise such that there are two halves with flat
- Chop 5 cloves of garlic
- Pour the butter and olive oil in a pan and put on medium heat, or until it just about begins to sizzle
- Add red pepper flakes, garlic, and oregano to pan
- Cook for about 5 minutes, immediately stop if the garlic becomes golden-brown
- Spread one-half to two-thirds of this mixture across the inside surface of the two halves of the loaf
- Lightly cover the two halves of the loaf with cheese
- Pour tomato sauce into pan with the remaining garlic mixture, add a pinch of salt and a pinch of oregano, keep between low and medium heat
- Put loaves in oven for about 5 minutes to let the cheese melt
- Once cheese is melted, remove the loaves, cover their surfaces with the tomato sauce, then cover the sauce with cheese, add any desired toppings
- Cook pizza in overn at 425 degrees F for about 9 minutes
- Cut and serve or eat
Notes
- At step 7, if you add all the initial garlic mixture to the bread and then toast for 5 minutes, you get regular garlic bread!
- The red pepper flakes can be added to taste, add more for more heat
- You can go as crazy as you’d like with the toppings; I prefer to keep my pizza minimalist and stop at pepperoni
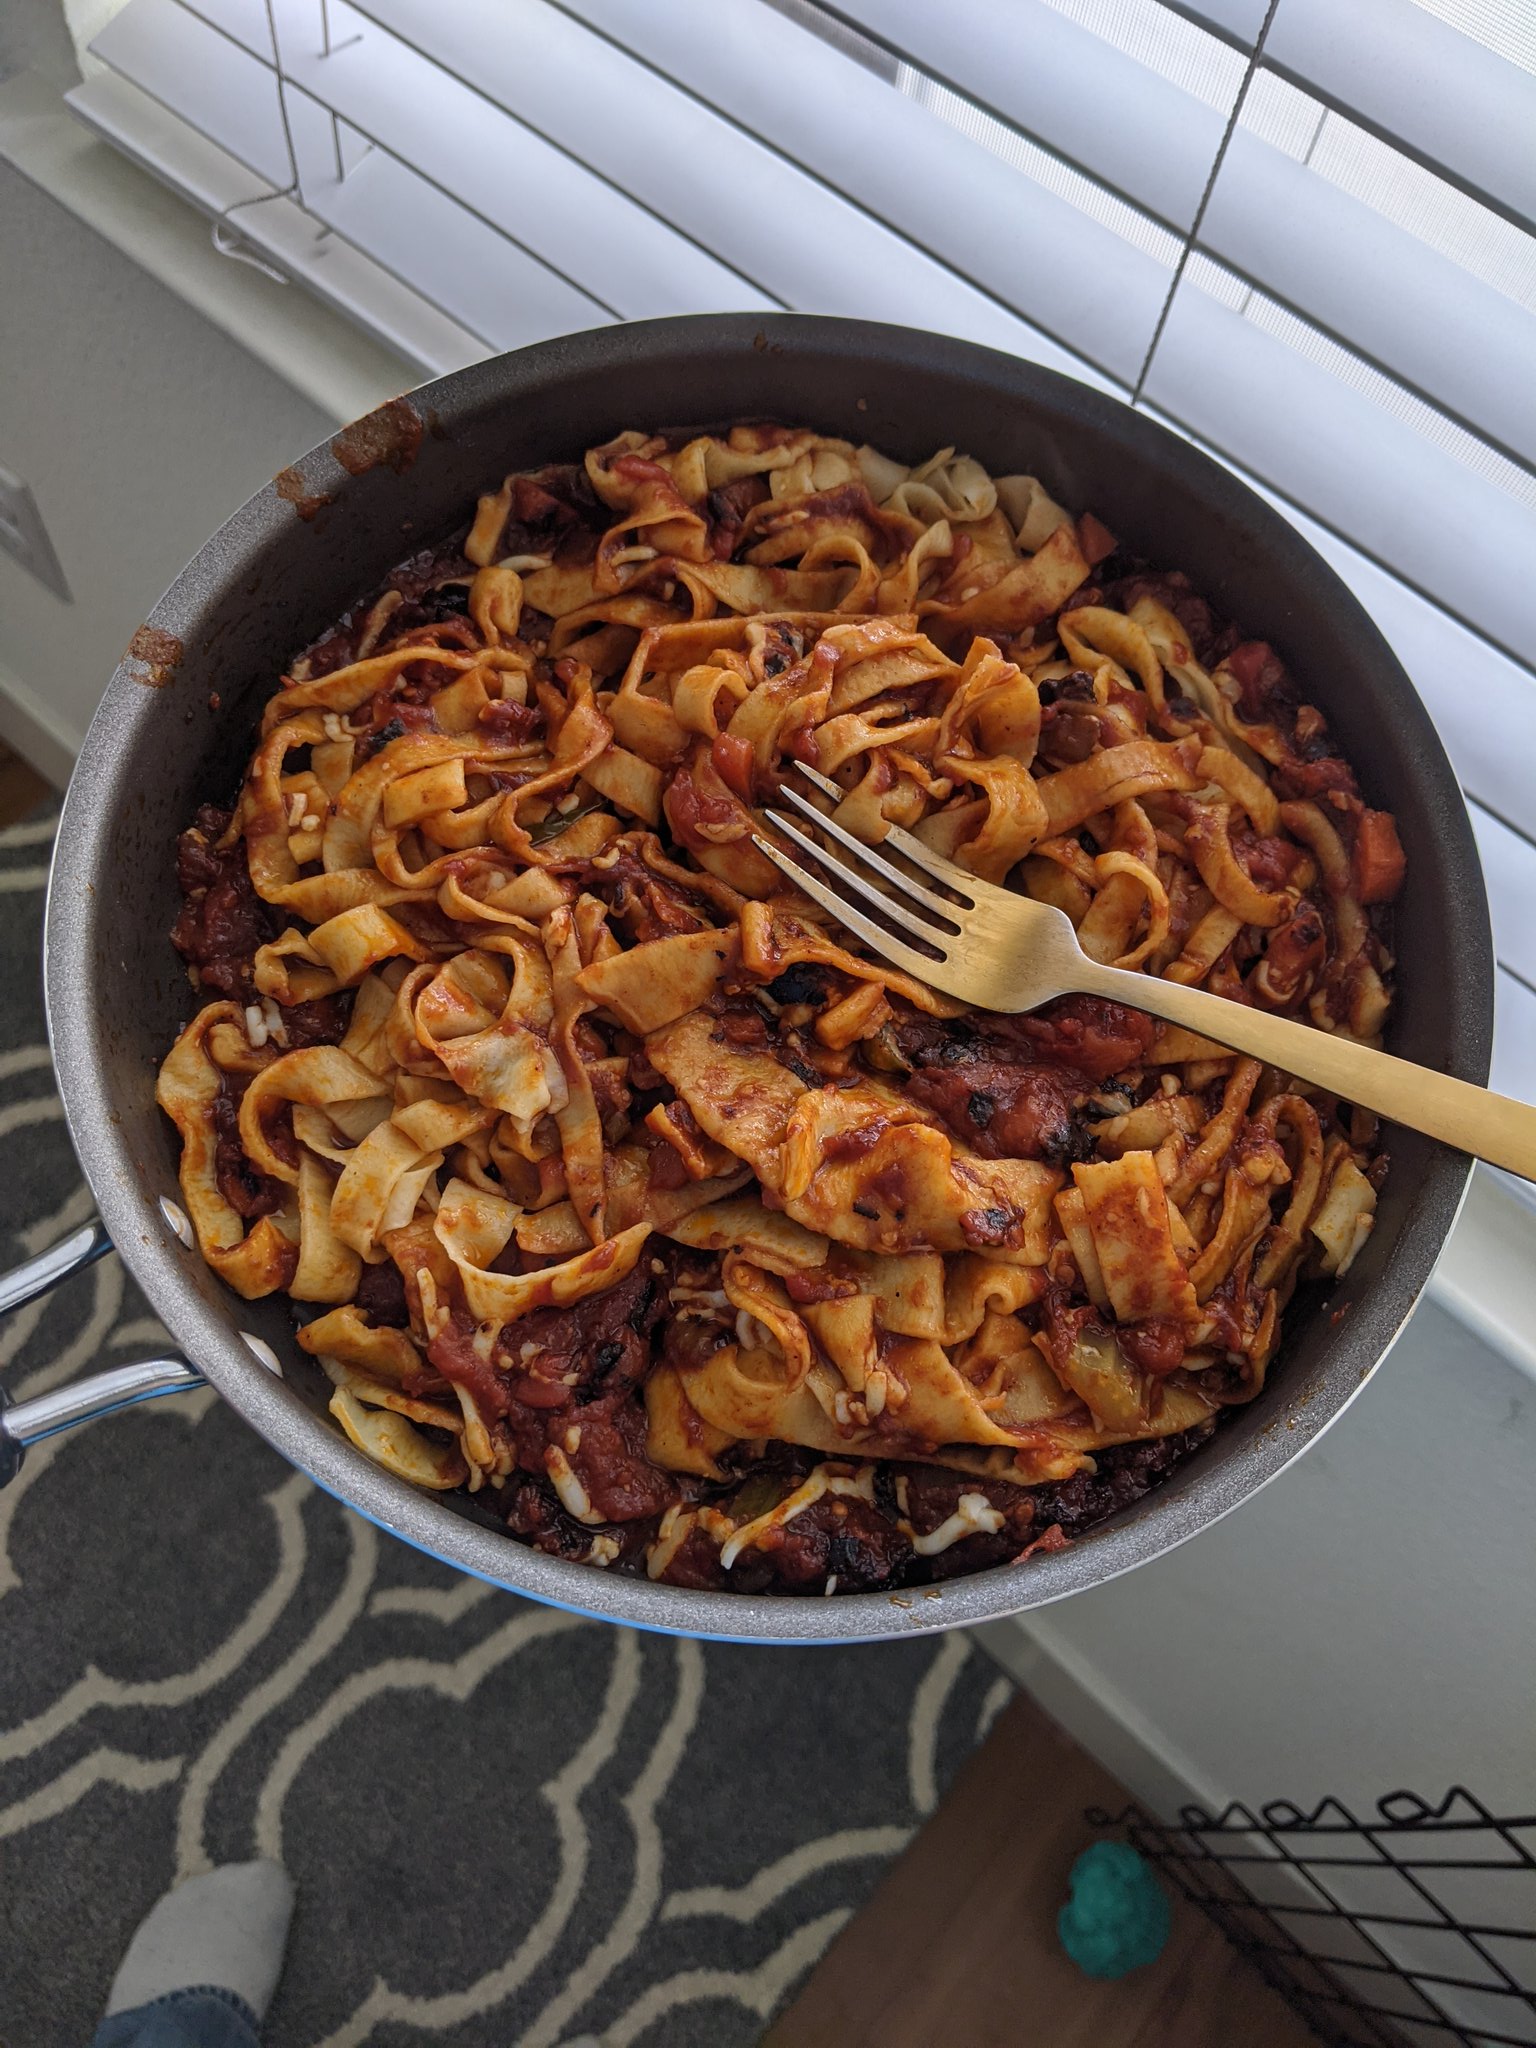
Fettuccine
- Active work time: ~1.5 hours
- Total preparation time: ~1.5 hours
Ingredients
- Flour – ~200g
- Eggs – 2
- Salt – a few pinches
- Olive Oil – enough
- For a tomato sauce:
- Crushed or peeled tomatoes – 24 ounces
- Water – ~0.25 cup
- Carrots – 1
- Onions – 0.25
- Celery – 1
Instructions
- Starting with the tomato sauce, dice the carrot, quarter of an onion, and celery
- Add just enough olive oil to coat the bottom of a pot
- Put pot on medium heat
- Put carrot, onion, and celery into the pot
- If using peeled tomatoes, crush them, then pour into pot; if using crushed tomatoes, pour them into the pot
- Add water and a pinch of salt to pot; cover and let it sit on medium heat; check on it every few minutes; once it reaches a desired consistency (like a sauce, so thicker than water but not too thick), set heat to low to keep warm
- Crack eggs into bowl and beat them together
- Pour flour onto a surface on which you can work with it
- Create a hole surrounded by flour (like a volcano) where the bottom is the work surface
- Pour eggs into the mixture into the flour volcano
- slowly add flour from the edges of the volcano to the eggs and mix together with a fork
- Once it becomes difficult to mix flour and eggs with the fork, just use your hands to incorporate more flour into the newly created dough
- Knead the dough by pressing it against the work surface and rolling forward, then rotating it 90 degrees, folding it over itself, and repeating until the dough is homogenous; if it remains sticky repeat the following until the dough is no longer sticky: slowly add pinches of flour and knead until fully incorporated
- Once the dough is homogenous and not sticky, check if it is ready by laying it on the work surface and using 3 fingers to press with enough force to dent the dough, the dough is ready if it springs up and the dent pretty much disappears within about a minute
- Once dough is ready, cut in half
- Put another pot on medium heat, fill it halfway with water, add a few drops of olive oil and a pinch of salt to the water; make sure the water simmers (some steam rises but there are no bubbles) but does not boil.
- Sprinkle flour onto the work surface, begin flattening one half of dough with a rolling pin in a long, oval-like shape; if the dough sticks to the rolling pin, sprinkle flour onto the dough; flatten the dough until, when putting your hand outstretched under the dough, you can see the outlines of your fingers; this is known as the “window-pane test”; repeat for the other half of the dough
- Coat the entire surface of the dough with a light coating of flour, beginning from one narrow end of one flattened half of dough, fold it about halfway up the length of the dough, repeat from the other end until it meets the other roll; repeat for other half of dough
- Cut the rolled dough into many, evenly sized strips by cutting perpendicularly against the line between the two rolls. Unfold the pasta.
- Here, you are choosing the width of your pasta, this is entirely up to preference.
- Add unfolded pasta to pot with water, let it cook for no more than two minutes
- Remove pasta from water, put it on a plate and add the sauce.
- Serve or eat
Notes
- A red Italian wine goes very nicely with this.
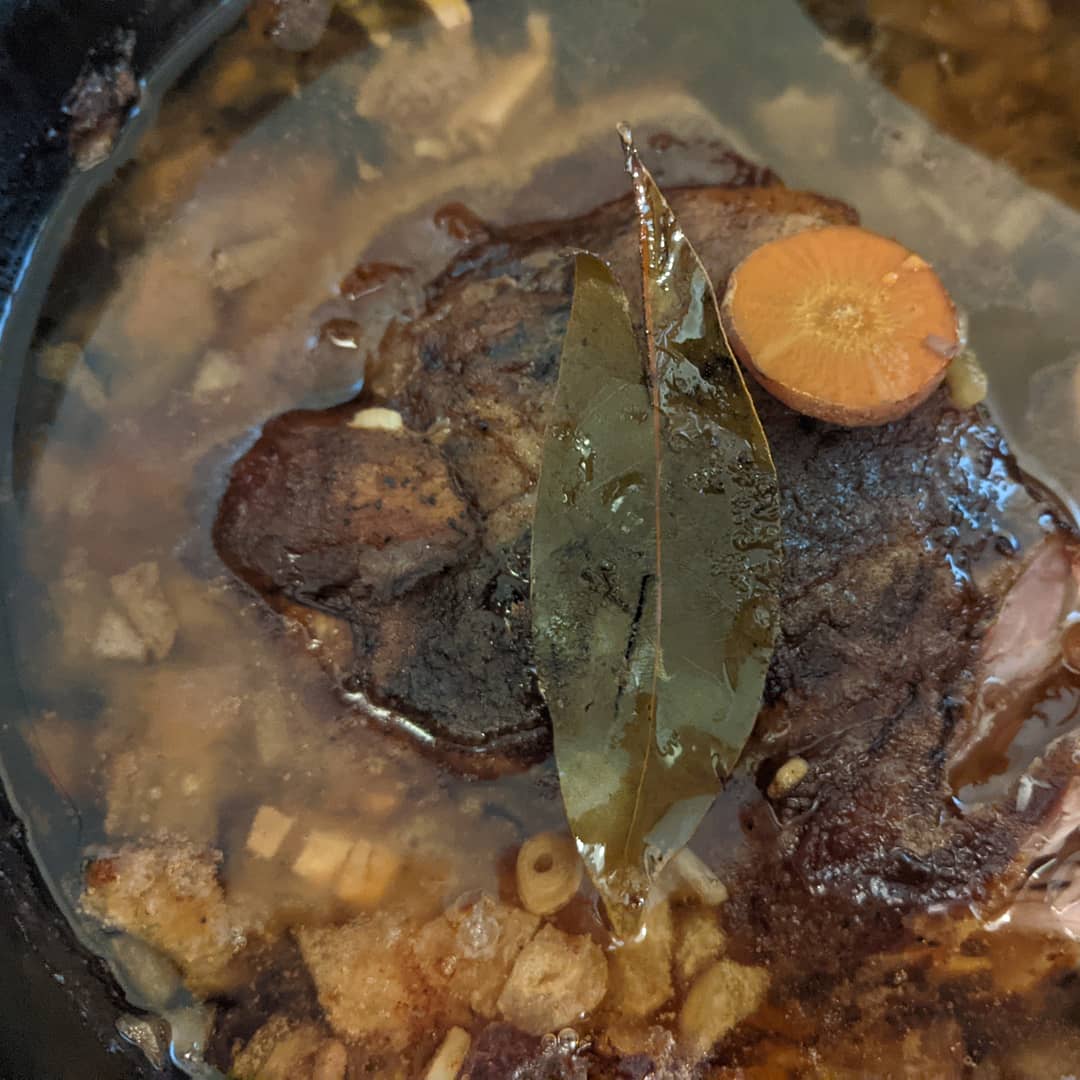
Slow Roast
- Active work time: ~30 minutes
- Total preparation time: ~12 hours
Ingredients
- Pork or Beef Shoulder – 1-3 pounds
- Liquid – 3 cups or however much almost covers the meat in the cooker
- This can be water, beer, a stock, or mixture of any of these; what I have used follows:
- Beer – 2 cups
- Water – 1 cup
- This can be water, beer, a stock, or mixture of any of these; what I have used follows:
- Full-sized Carrots, chopped – 3
- Small yellow onion, diced – 0.5
- Baby Potatoes, cut in half – 10
- Garlic cloves – 3
- Bay Leaf – 1
- Seasoning - ~0.5 cup or however much covers the meat entirely
- This can be anything; what I have used follows:
- Garlic Powder – 2 parts
- Paprika – 2 parts
- Black Pepper – 1 part
- Kosher Salt – 1 part
- This can be anything; what I have used follows:
Optional
- Mushrooms – 7
Instructions
- Pour one-third of liquid into the slow cooker
- Set slow cooker to highest heat setting and cover with lid
- Season meat, evenly distributing the seasoning on all sides of the meat
- Place meat in slow cooker
- Chop carrots and place into slow cooker
- Cut potatoes and place into slow cooker
- Dice Onion and place into slow cooker
- Chop garlic cloves and place into slow cooker
- Pour rest of liquid into the slow cooker
- Place bay leaf into the slow cooker
- Place lid on slow cooker and let cook on the highest heat for 4 hours
- After having cooked on the highest heat for 4 hours, change heat to low and let cook for 8 hours
- If using mushrooms, add to slow cooker when there are only about 2 hours left to cook on low
Notes
- There’s a lot of freedom with this recipe. You can change anything: the seasoning, vegetables, meat, and liquid.
- Do not remove the top except to add ingredients, the slow cooker loses a lot of heat when the lid comes off.
Bacon Bread (a.k.a. Fortnite Bread)
- Active work time: ~10 minutes
- Total preparation time: ~10 minutes
- A ‘recipe’ by my father to get the best use out of bacon and spare bread. Brace your arteries before reading. Get some exercise after eating.
Ingredients
- Bacon – a few strips
- Bread – a loaf
- The form of a loaf or baguette works best
Instructions
- Chop bread loaf into slices about as thick as a thumb
- the point is to have slices of bread slices in the size of those you’d find as appetizers
- Cook bacon strips in waves of about 4 at a time on a pan over medium-high heat until cooked to desired crispiness
- In between waves of bacon, dip bread slices into the bacon grease, making sure to soak up the grease and toas the outside of the bread.
- Eat with bacon or other preferred toppings.
Notes
- This is incredibly unhealthy, but if you are going to eat bacon, you have to deal with the grease somehow, and this method allows you to get the great taste of bacon with the texture of slightly toasted bread.
Chocolate Chip Cookies
- Active work time: ~30 minutes
- Total preparation time: ~9.5 hours
- This recipe is courtesy of Andrew Rea (also known as Babish from the Babish Culinary Universe). Here’s his video making them.
Ingredients
- Unsalted butter – 16 tablespoons
- White sugar – 0.5 cup
- Brown sugar – 1.5 cups
- Dark or light, according to preference; you can even try to make your own by simply mixing molasses and white sugar until thoroughly combined
- Eggs – 2
- All-purpose flour – 11.5 ounces
- Kosher salt – 1 tablespoon or to taste
- Baking soda – 0.5 teaspoon
- Mixins
- Chocolate chips – 10 ounces or to taste
- May be replaced with a chopped bar of chocolate
- Nuts – many
- Kind of nut according to preference
- Chocolate chips – 10 ounces or to taste
Optional
- Cinnamon – ~0.75 teaspoon or to taste
Instructions
- Heat butter in pan over medium heat, making sure to continually move the pan so as not to burn the butter. Remove pan from heat once butter begins to turn golden-brown. Refrigerate butter until re-solidified.
- In a large bowl, mix cold butter with the sugars until combined.
- I recommend using a stand mixer because mixing the solid butter into the sugars well can be difficult to do by hand. Even after many minutes of hand-mixing, you could find chunks of solid butter, which are not desired.
- If you do it by hand, I recommend letting the butter sit at room temperature until softer.
- Mix eggs into butter and sugar mixture until combined; it should look homogenous. This is now known as the wet mixture.
- In a separate bowl, mix flour, salt, baking soda, and cinnamon (if desired). This is known as the dry mixture.
- Add half of the dry mixture to the wet mixture and mix until combined. Add remainder of dry mixture and mixins (chocolate chips or nuts) to the combination and mix until well-combined.
- Be careful not to mix too much so as not to develop too much gluten.
- Let cookie dough cool in fridge for at least an hour.
- Make dough balls and cook on a baking sheet in a 350°F oven for 12-15 minutes.
- Serve or eat once cooled to preference.
Notes
- A stand mixer saves a lot of time and effort
- I’ve found the most fickle part of this recipe to be the amount of flour, but that’s probably due to how I used to use volume instead of mass to measure out flour. Too much flour seems to have made cookies not ‘deflate’ enough or lose height relative to the height of their dough balls after baking. Too little flour made the cookies flatten out too much and become disks. Both result in not very tasty ‘cookies’.
- The cinnamon is tricky. I think the taste complements the cookie base very well but adds too much complexity with chocolate chips. One of my friends loves “chocolate chip cookies without chocolate chips,” and he inspired me to make the cookies with cinnamon but without the chocolate chips. That solves the complexity problem! So, either add cinnamon or chocolate chips, not both (unless that fits your tastes). I think adding slightly more than the listed amount of cinnamon ends up tasting very good.
- Whenever cookies turn out well, they feel ‘heavy’. Heavy in the sense that I want to take a nap after eating one, so I recommend making smaller dough balls for smaller cookies. These cookies also generally retain height, so a too large dough ball will look more like a flying saucer than a cookie. Because they retain their height, they will also rather soft on the inside. I consider this a feature (I dislike the sugary crackers people think pass for cookies).
- For simple sugar cookies, simply replace the brown sugar with white sugar!
- I haven’t noticed too much of a difference between the store-bought light and dark brown sugars. Since brown sugar is simply white sugar mixed with some amount of molasses (more molasses being the distinction between light and dark brown sugar), an interesting, cheap, and easy experiment would be to try different amounts of molasses to make the brown sugar and see how the molasses affects the end-result.

Brigadeiros
- Active cooking time: ~20 minutes
- Total preparation time: ~1.5 hours
- A Brazilian dessert and party treat that tastes good and is quick and easy to make.
Ingredients
- Butter – 0.25 cup
- Sweetened Condensed Milk – 14 ounces
- Cocoa powder – 4-5 tablespoons
Optional
- Sprinkles, rainbow or chocolate – enough to cover them
Instructions
- Melt butter in a pan over medium heat
- Add condensed milk to pan
- Add cocoa powder to pan
- Stir constantly for about 10 minutes or until it reaches a texture such that it somewhat clings to the pan if you tilt it
- Pour onto a plate
- Let cool at room temperature for an hour or until fully cooled
- Roll into little balls
- Cover balls in sprinkles
- Serve or eat
Notes
- It may take an attempt or two before being able to properly cook the mixture